Dashboards and interfaces
version 0.1 | Read time 2m 27s
The administration toolbar gives you access to the areas used to create and manage content. The options you see depend on your role and organisation.
Open a dashboard
Use the administration toolbar at the top of the website to open the four main dashboards: Content, Media, Categories, and Menus.

The Content dashboard
The Content dashboard (/admin/content/dashboard) is the main place for finding and managing pages. Use it to:
- Select a Content type to show only News, Events, Resources, or another type.
- Select a Moderation state to find pages in Draft, Needs Review, Published, or Unpublished.
- Enter any word from a page title to search for it.
- Use the Service filter to change the service whose pages are shown. It defaults to the service managed by your organisation; other services appear only if your permissions allow access to them.
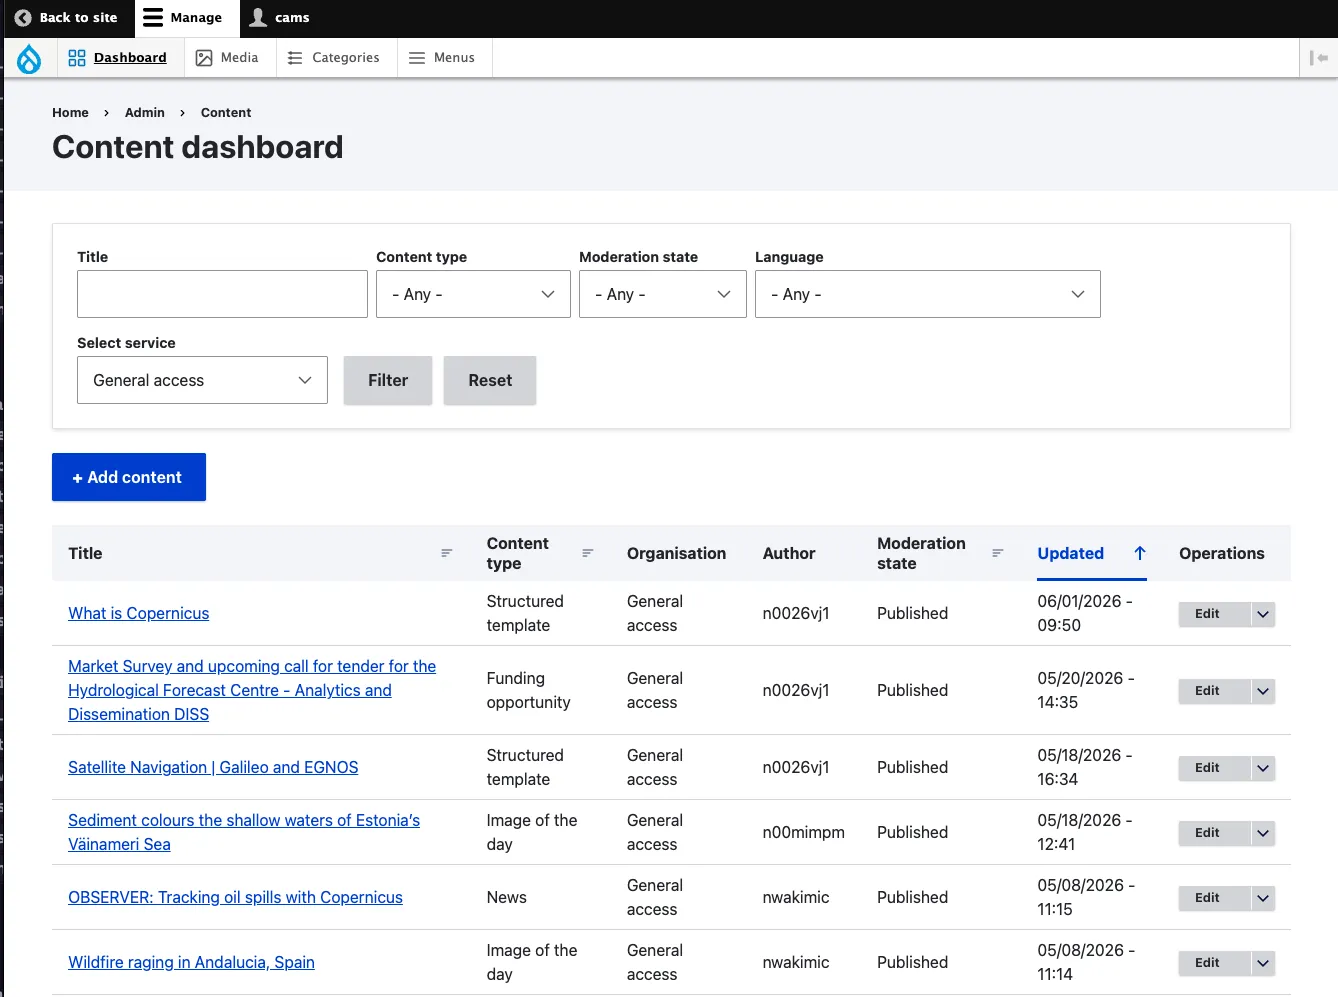
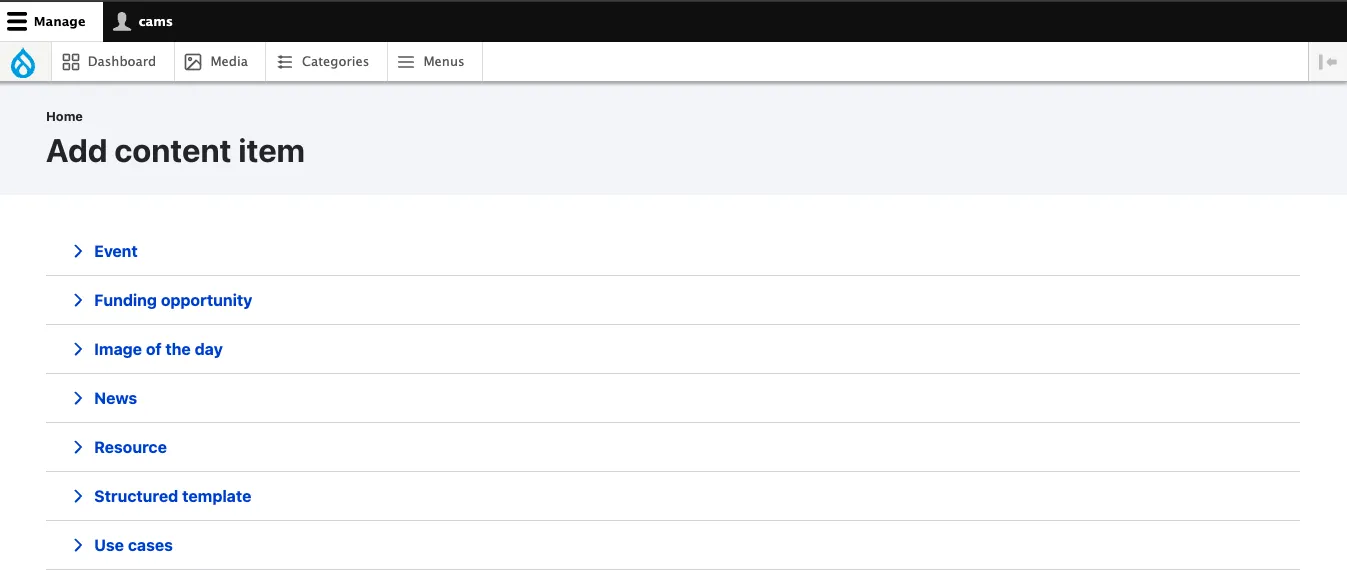
Select Add content to choose a content type and create a page.
The Media dashboard
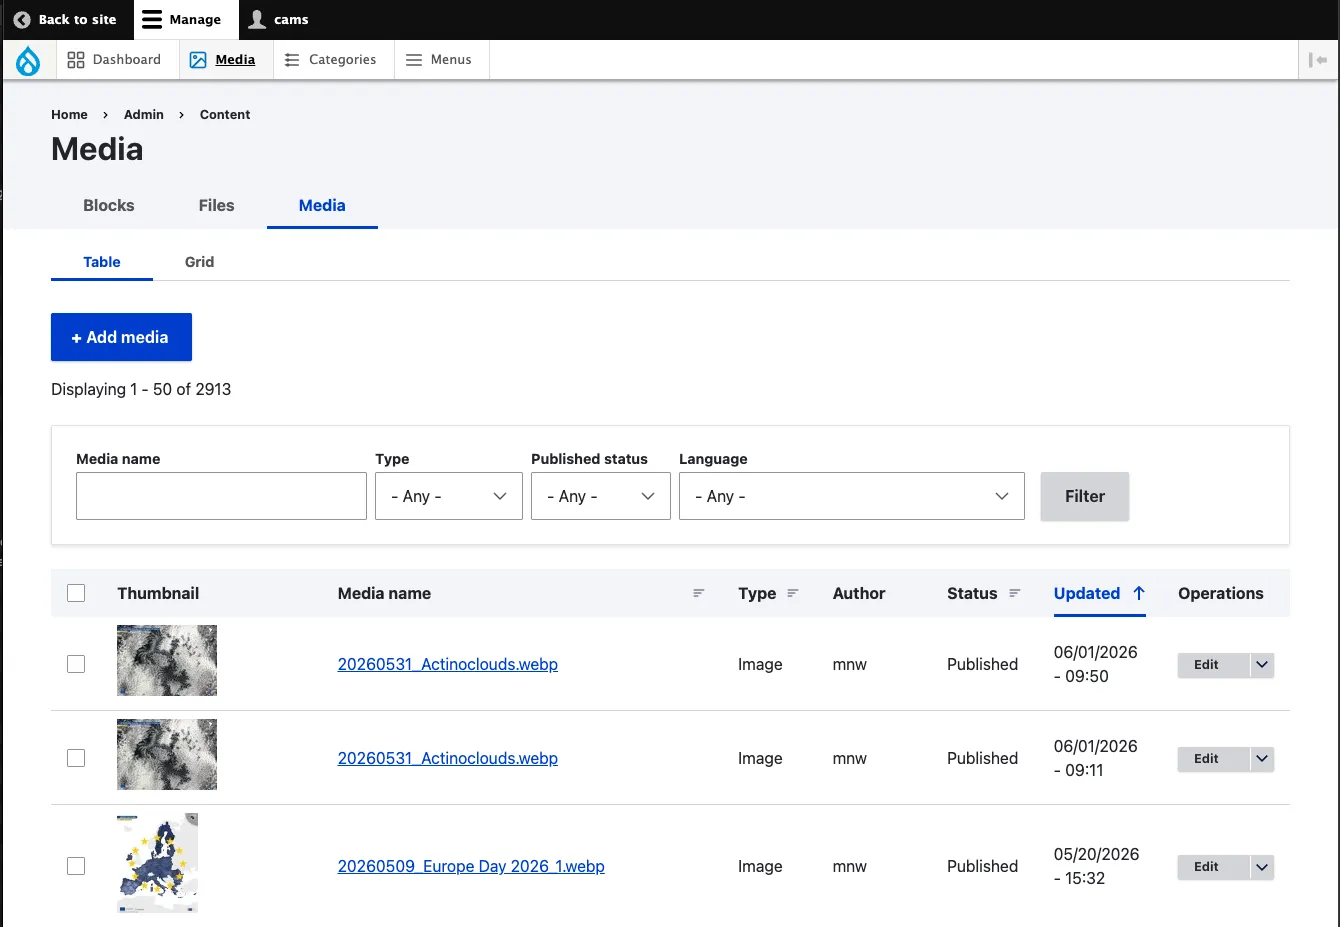
The Media dashboard (/admin/content/media) lists reusable images, videos, podcasts, files, and icons. Use it to find an existing item before uploading another copy, or to update information such as an image credit or alternative text.
The Categories dashboard
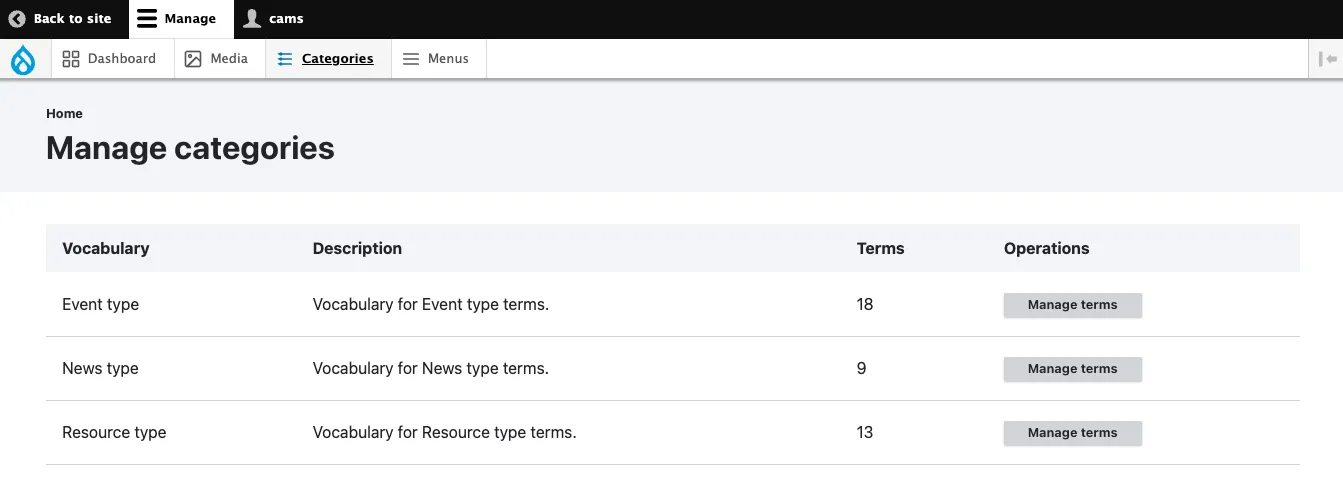
The Categories dashboard (/admin/content/categories) lists the controlled categories that editors are allowed to manage. Depending on your permissions, you can add or update options such as Event type, News type, and Resource type. See Taxonomies before changing a category.
The Menus dashboard
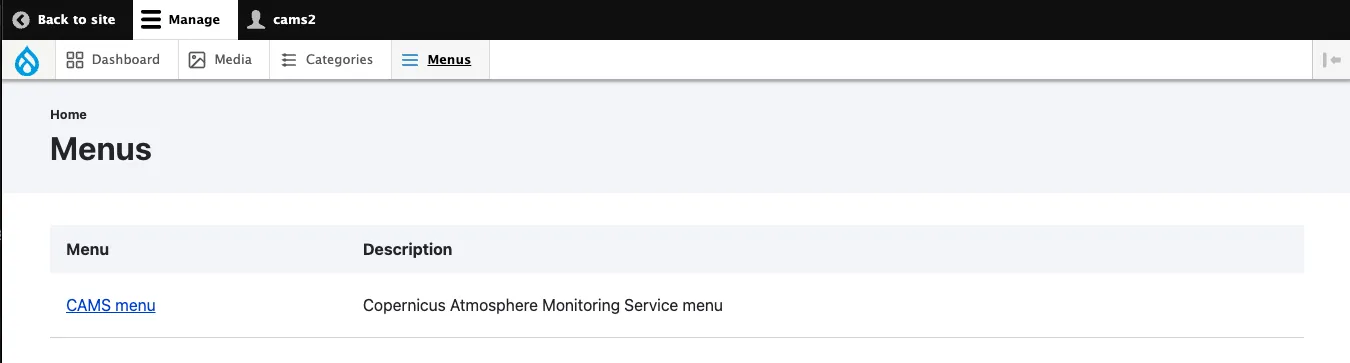
The Menus dashboard controls the navigation for each service website. Only edit a menu belonging to a service you manage.
1. Select the menu
Choose the service menu you want to edit. Editors responsible for more than one service will see more than one menu.
2. Add or update links
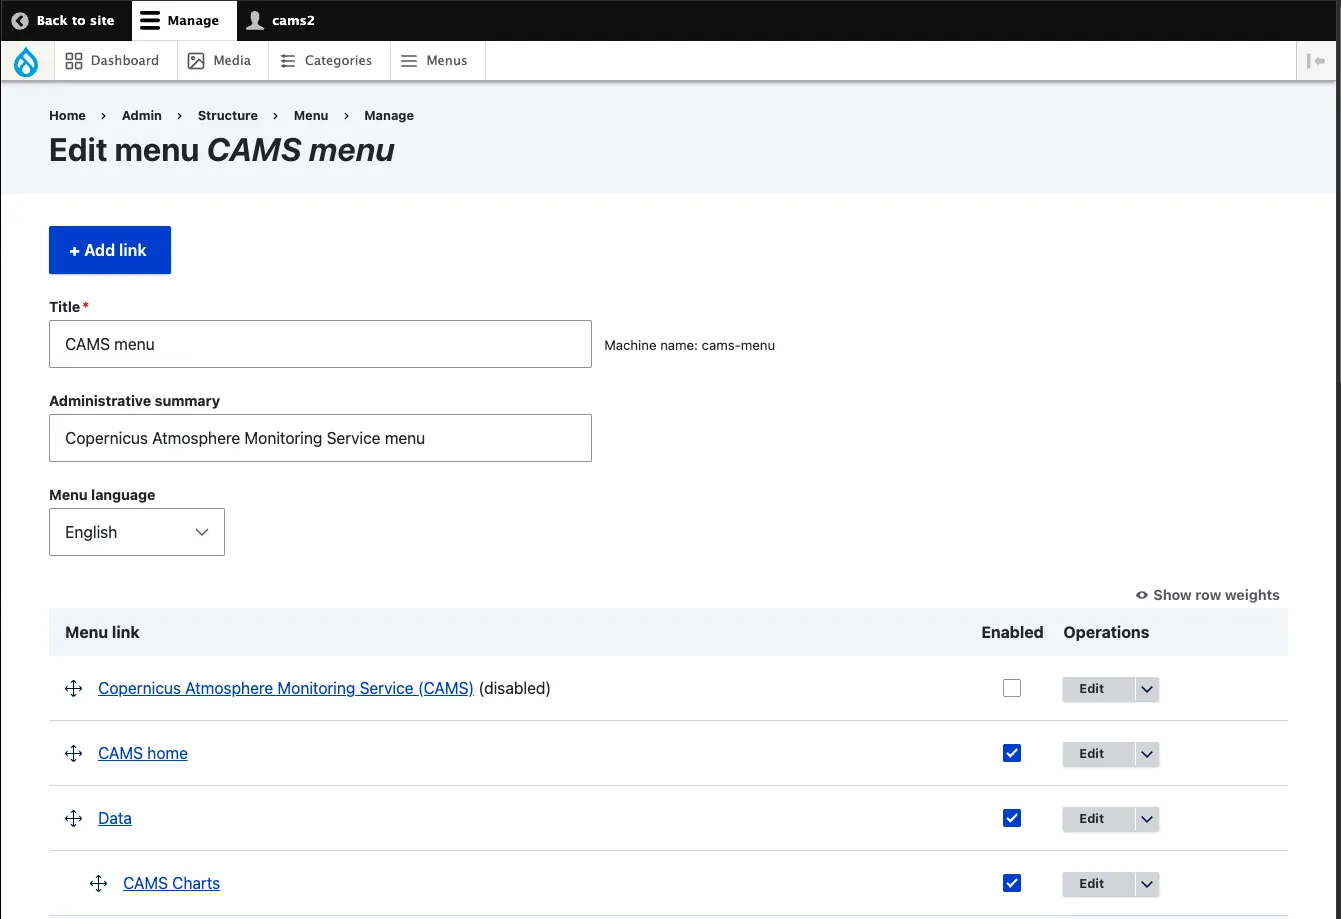
- Do not change the menu title or machine name. The machine name is the menu’s permanent internal identifier, which the CMS uses to connect the menu to the correct service website.
- Select Add link to add a navigation item. Enter a short menu label and the page URL.
- Select Edit to change an existing item’s label, URL, or position.
- Drag the handle on the left of an item to change its order.
- Drag an item slightly to the right beneath another item to create a second navigation level. Keep menus to a maximum of two levels. Link to related pages from the page body instead of creating deeper navigation.
- Clear Enabled to hide a link without removing it from the menu structure.
- Select Save after making changes. Menu changes appear immediately on the live site.
Why disabling is different from deleting: A page’s position in the menu determines its breadcrumb trail. If a link should be hidden from the sidebar but the page still needs its breadcrumb, clear Enabled instead of deleting the link. The hidden item keeps its position in the hierarchy.